1st step: How to to install Android on your flash drive or memory card.
First of all, you need to make sure that you have a flash
drive or memory card which is inserted into your computer. You have to more
than 256MB free storage space in your flash drive or memory card. Now you have
to download and setup Android on your drive from here.
Head over to the
Android x86 download page, scroll down to the “Stable Release” section, and
click View under android-x86-1.6-r2.iso.
This will start the ISO file downloading to your computer.

When your downloads will complete, you have to run
UNetbootin. Click the bullet beside
Diskimage, then click the “… “ button and select the Android ISO file you just
downloaded. Finally, select the correct
flash drive or memory card in the menu on the bottom, and click Ok.

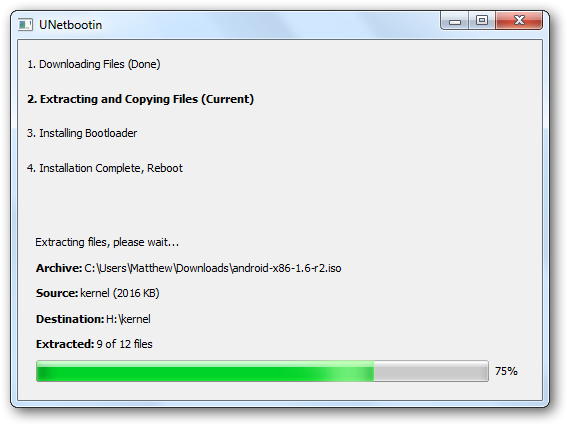
UNetbootin will copy the files to your flash drive. This may take a few moments, depending on
your flash drive’s speed. This you should wait.
Once it will be finished, you will be asked to wish to
reboot. If you want to go ahead and run android,
you can click Reboot. Otherwise, you have to exit and run Android from your
flash drive when you want.

If you want to try Android on a computer that has a CD/DVD
drive, you could just burn the ISO to a disk and boot from it. Netbooks don’t have CD drives, and even on a
desktop, it can be nice to not waste a CD just for this. If you want to burn it to a disk, you can do
it easily from ImgBurn.

With a view to running Android on your netbook, laptop, or even
a full desktop computer, all you have to do, is to reboot your computer with the USB
drive, and select to boot from it. Not
all computers will automatically boot from a USB device. So you may have to
press F2, F10, or another key, depending on your computer, and change the Boot
options in the bios.

Now you boot from the USB drive, select Live CD – Run
Android-x86 without installation. Here you can choose any option as you want by
scrolling.

Here you will see a text prompt for a few moments as Android
begins to load. Please don’t navigate from here.

Then you’ll see the Android boot screen, though we only saw it for a moment, as our computer booted really fast into Android.

After waiting a couple of seconds, you will see the Android on
your netbook or computer! You can
quickly access one of the apps on the home screen, or open the menu to see more
options.

That is all for today. Have a good time.
 Posted in: android,desktop,laptop,netbook,unetbootin,windows